
04 - Halo Wiring - HIDProjectors.com Revision 2.0 - 2015 Jeep Wrangler JK
March 29, 2018
Explore the wiring setup for Halo, Angel Eyes, and Devil Eyes in the 2015 Jeep Wrangler JK, enhancing your off-road lighting experience.
Quick Look
Overview
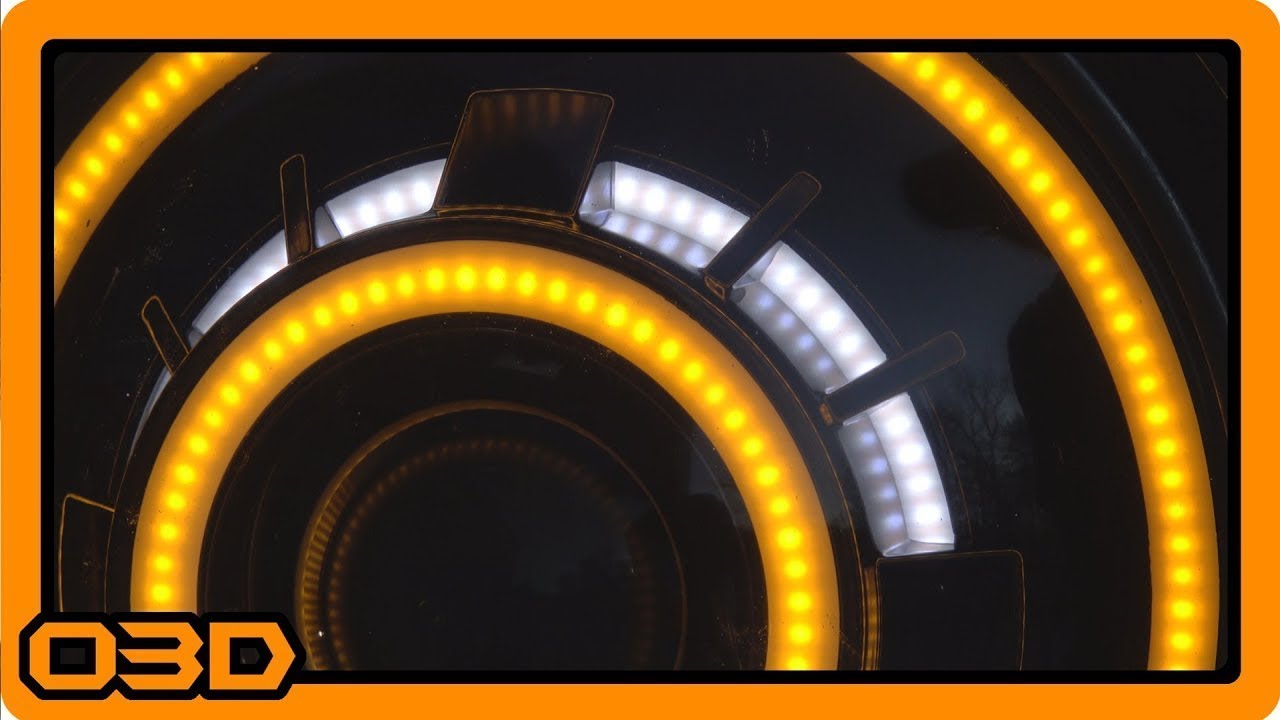
Upgrading your Jeep's lighting can enhance visibility and aesthetics, especially when venturing off-road. In this tutorial, we're diving deep into the wiring for the Halo, Angel Eyes, and Devil Eyes featured in the Revision 2.0 Signature Series Switchback HID headlights. These headlights provide robust light output and customizable features, making them a worthy investment for your 2015 Jeep Wrangler JK.
What This Covers
This article covers the necessary steps and tips for wiring your new headlights, explaining the functionality of each LED component. You’ll learn about the installation of the wiring harnesses, how to make optimal connections, and how to achieve the best lighting effects on your Jeep.
Step-by-Step Breakdown
- Gather Materials: Ensure you have the HIDProjectors wiring harness, a set of tools (wire strippers, crimpers), and any additional connectors needed for your specific setup.
- Connect the Ground: Start by connecting the ground wire to the designated ground post in your Jeep. This is crucial for all your LEDs to operate correctly.
- Identify Wire Functions: The harness comes color-coded, making it easier to plug in the LED drivers. Remember: orange corresponds to orange, blue to blue, and green to green. This allows for a more straightforward installation process.
- Wiring the LEDs: Connect the red wire for the bright LED and the white wire for the dimmer LED. This setup offers versatility, as you can choose between brighter light for driving or a dimmer light for parking.
- Configure the Angel Eyes and Devil Eyes: You can wire the devil eyes separately for subtle red illumination. It’s important to note that with the right configuration, you can switch the colors based on driving conditions, such as incorporating amber when using turn signals.
- Utilize Switch Logic: If you plan to use a switch to control your halos, ensure you're tapping into a 12-volt circuit. A three-position switch can give you control for on, off, or automatic functionality. This is particularly useful for daytime running lights.
- Hide the Wiring: One of the challenges during installation is managing the additional bulk created by LED drivers. Use zip ties to clean up the wiring and keep everything organized. This not only looks good but makes future maintenance easier.
- Final Adjustments: Once everything is wired up, adjust your LEDs to see the effects of different configurations, ensuring the halos and switchback functionality work as intended.
Helpful Tips
- Plan Your Wiring: Before starting, sketch out your wiring plan to avoid confusion during installation.
- Use Quality Connectors: Investing in high-quality connectors can prevent electrical failures down the road.
- Test Before Finalizing: Power on the system and test all configurations prior to securing everything. This ensures you catch any issues early on.
- Don’t Rush: Take your time to ensure each connection is secure; a rushed installation can lead to failures or hazards down the line.
Key Takeaways
The Revision 2.0 Signature Series headlights are an excellent choice for Jeep enthusiasts looking to upgrade their lighting system. With the right wiring, you’ll not only improve visibility during off-road adventures but also personalize your Jeep's look. The ability to customize color and intensity adds a unique flair to your vehicle, ensuring you stand out on and off the trails.