
Barricade Trail Force HD Rear Bumper Tire Carrier Install - Part One
October 6, 2015
Learn how to install the Barricade Trail Force HD Rear Bumper Tire Carrier with our step-by-step guide and useful tips.
Quick Look
Overview
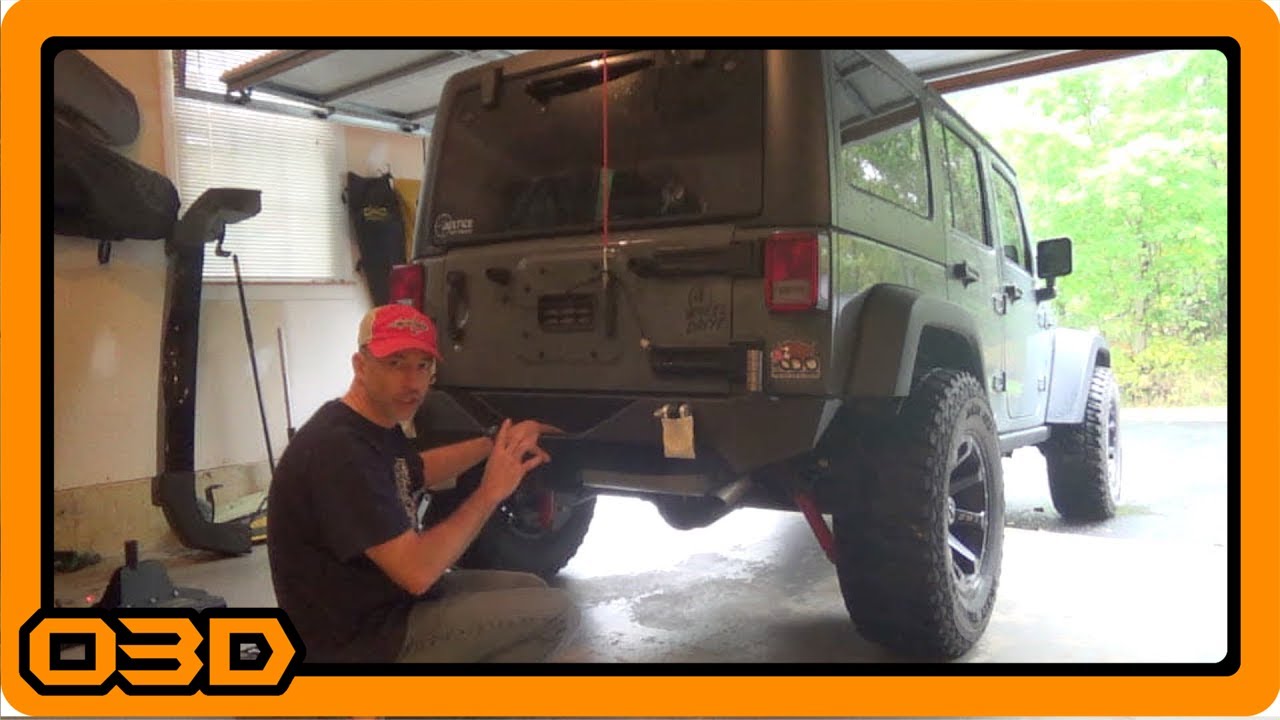
Upgrading your Jeep JK can transform your off-road adventures, and a vital component of that upgrade is the rear bumper and tire carrier. In this article, we will walk you through the installation of the Barricade Trail Force HD Rear Bumper with the Tire Carrier. This robust bumper not only enhances your Jeep's aesthetic appeal but also brings added functionality to the table.
What This Covers
This tutorial will provide a comprehensive guide on removing your existing rear bumper and tire carrier, as well as a step-by-step breakdown of installing the Burried Trail Force HD bumper. We will also touch on essential tips and considerations to ensure a smooth installation process.
Step-by-Step Breakdown
- Prepare Your Workspace: Start by gathering the necessary tools. You'll need wrenches (specifically a 16mm and 19mm), your new bumper hardware, and safety equipment.
- Remove the Existing Tire Carrier: If you're coming from an aftermarket carrier like I was, you'll want to disconnect everything properly. This includes the bolts holding the tire carrier in place and ensuring you detach any connected wiring, such as the third brake light.
- Detach the Rear Bumper: There are typically six bolts connecting the bumper to the frame and four screws securing the tow hitch. Depending on your preference, you can remove the bumper alone or the hitch simultaneously.
- Inspect the Frame: Once the old bumper is off, take a moment to inspect the frame. Make sure there’s no rust or damage that might hinder the installation of the new bumper.
- Install the Barricade Bumper: Start by securing the supplied brackets to the frame using the captured nuts provided. Once the brackets are in place, align the bumper, positioning it so that it securely fits over the frame, and begin to loosely attach it with the hardware included.
- Align and Tighten: Before fully tightening the bolts, ensure that the bumper is properly aligned with your Jeep's tailgate. Once correctly positioned, start tightening the bolts incrementally, checking alignment as you go.
- Tire Carrier Installation: The Barricade tire carrier will have specific mounts that correspond with the new bumper. Install these as per the manufacturer’s instructions while ensuring it securely holds your spare tire.
- Reattach the Third Brake Light: Since there’s no pre-installed mounting or relocation option for the third brake light on the Barricade bumper, you will have to find a creative solution. A simple bracket purchase can solve this issue.
- Final Checks: Go through your work and ensure all bolts are tightened, connections are secure, and nothing is left loose or undone. This is crucial for safety when on the road or trail.
Helpful Tips
- Have a buddy help with lifting and positioning the bumper; it can be heavy and unwieldy.
- Don’t rush the process; take your time to ensure everything is correctly aligned and secured.
- Consider using thread-locking compound on the bolts to prevent them from loosening over time.
- Test your tire carrier after installation to ensure it holds the weight of your spare comfortably.
Key Takeaways
Installing the Barricade Trail Force HD rear bumper with tire carrier is an invaluable upgrade for your Jeep JK, enhancing both function and style. Proper preparation and a systematic approach are key to a successful installation. Be sure to take your time, follow our guide, and enjoy the newfound utility of your Jeep!