
DIY Magnet Mount Trail Camera (DVR or Reverse Rear Camera Too!)
September 27, 2017
Learn how to create a DIY magnet mount for trail cameras on your Jeep with this easy guide.
Quick Look
- This is a simple way to mount cameras. It is easily done and allows for the cameras to be securely placed, yet movable.
- This is a simple way to mount cameras. It is easily done and allows for the cameras to be securely placed, yet movable.
- Some helpful O3D Jeeps links for you:
- Some helpful O3D Jeeps links for you:
- Some helpful O3D Jeeps links for you:
Overview
In the world of off-roading, the right footage can transform a memorable adventure into a beautiful story worth sharing. One effective way to capture those moments is through mounting cameras on your Jeep. In this article, I will guide you on how to create a simple yet robust DIY magnetic mount for trail cameras. This versatile solution allows you to easily reposition your cameras as needed, enhancing your filming capabilities without compromising safety.
What This Covers
This tutorial will cover the entire process of designing and building a magnetic camera mount. I'll share insights on the materials required, as well as practical tips to ensure that your cameras are securely attached while remaining easy to relocate during your trail adventures. Whether you're capturing views from the front, side, or underneath your Jeep, you'll have the flexibility to adjust your cameras without hassle.
Step-by-Step Breakdown
- Select Your Cameras: Opt for CCD cameras with an IP68 rating for waterproofing. This ensures that your equipment can withstand the elements during outdoor adventures. I used small cameras that allow for versatile mounting.
- Gather Your Materials: You’ll need strong neodymium magnets (I recommend 3/4" in diameter) and a two-part epoxy adhesive. Make sure to have a plastic knife or popsicle stick for mixing the epoxy, along with a disposable surface for your mixing.
- Prepare the Base: Remove the camera's original mount if necessary. Then, apply the epoxy to the areas where the magnets will be attached. Use enough epoxy to ensure a strong bond between the magnets and the camera base.
- Attach the Magnets: Carefully place the magnets in position within the epoxy, ensuring they are correctly oriented for maximum attraction. Allow the epoxy to cure completely. During this time, it’s crucial to avoid disturbing the setup to ensure a strong bond.
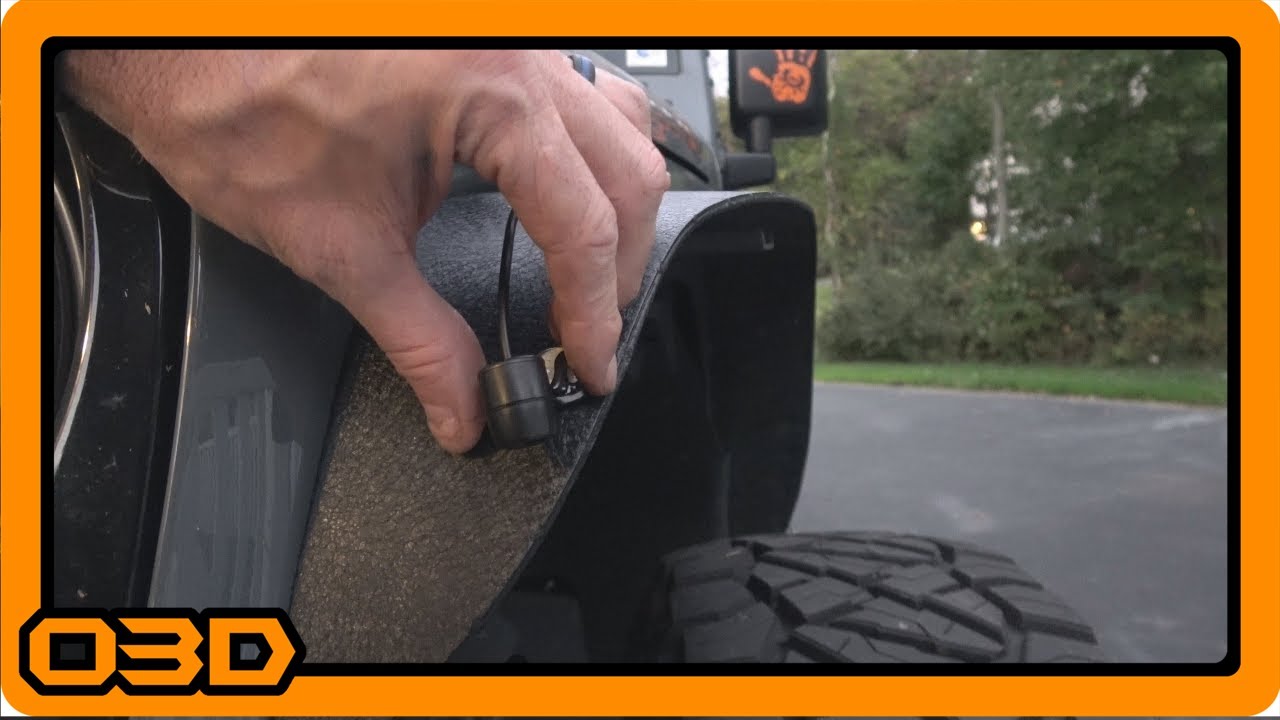
- Testing the Mount: Once the magnets are secured, test the mount by placing the camera on various surfaces of your Jeep. Adjust its angle to capture the desired views, whether you're documenting your drive or taking scenic shots. Ensure it remains secure during bumps and vibrations.
Helpful Tips
- Start with one camera mount to refine your technique before building additional ones.
- Explore different camera placements, such as under the vehicle for unique undercarriage shots or alongside the body for tire shots.
- Be mindful of cable management when positioning your cameras to avoid tangling.
Key Takeaways
This DIY magnetic camera mount is an excellent way to enhance your Jeep's functionality and capture off-road adventures on film. With simple materials and a straightforward approach, you can create a robust solution that offers flexibility and durability. Whether you're filming for personal keepsakes or creating content for your social media, this modification will elevate your filming experience and provide exciting perspectives on your next Jeep adventure.