
DOH! Another Challenge! OME Lift Kit Install Begins - Rear Shocks Springs Trackbar and Swaybar Lin
September 4, 2017
Join us as we install the OME lift kit on a Jeep TJ, facing common challenges like broken bolts and tips for success.
Quick Look
Overview
Welcome to another exciting installment from O3D Jeeps! In this article, we will guide you through the installation process of the Old Man Emu (OME) Ultimate Lift Kit for Jeep TJ and LJ models. This comprehensive kit promises improved performance both on and off-road, allowing your Jeep to comfortably handle larger tires and rougher trails. While installing a lift kit is a great way to enhance your vehicle's capabilities, it can also come with its challenges. Let's dive in and explore the process, along with some tips for a successful installation.
What This Covers
This tutorial will cover the key steps in the installation of the OME lift kit, including:
- Preparation for installation
- Dismantling the rear suspension
- Dealing with common issues like broken bolts
- Reassembly and re-tightening of components
Step-by-Step Breakdown
1. Preparation: Gather Your Tools
Before starting, ensure you have all the necessary tools. This includes socket sets, wrenches, a floor jack, jack stands, and penetrating oil (like PB Blaster) to help with stubborn bolts.
2. Raise the Vehicle
Use the floor jack to lift the rear of your Jeep, then secure it with jack stands. Safety is paramount, so ensure the vehicle is stable before getting underneath.
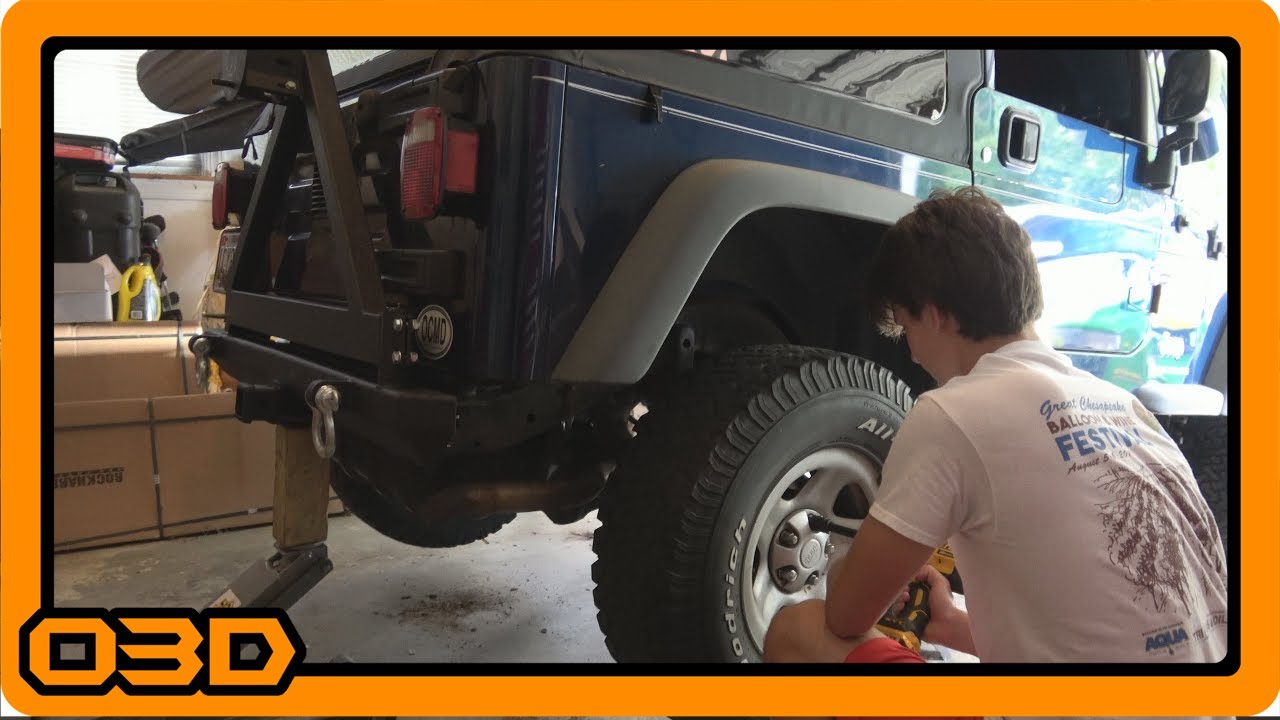
3. Remove the Tires
Start by removing the tires to access the rear suspension components. This step clears the way for a smooth installation process.
4. Dismantling Suspension Components
Begin with the shocks and springs. Be mindful of your control arms; loosen their bolts but leave them attached for now. You will revisit them later.
5. Address Broken Bolts
Ah, the infamous broken bolt! If you encounter this issue, as we did with the upper shock bolt, don’t panic. Apply PB Blaster and let it soak. You may need to drill out the broken bolt if it won’t budge; however, this may require specialized tools or even a professional to assist.
6. Install New Components
Once you’ve successfully removed the old components, it’s time to install the new OME parts. Follow the kit instructions carefully for proper alignment and fitting.
7. Reattach and Retighten
After you’ve installed all the new components, reattach the control arms and retighten them to the correct torque specifications. Remember to do this after lowering the Jeep back to its intended ride height.
Helpful Tips
- Patience is Key: Don’t rush through the job. Take your time, especially when dealing with stubborn parts.
- Work with a Buddy: Having a second pair of hands can make a significant difference, especially during the reassembly of heavy components.
- Follow Up: Check all connections after your first off-road trip. Ensure everything is secure and functioning as expected.
Key Takeaways
Installing the OME Ultimate Lift Kit can significantly change your Jeep's performance, but expect some challenges along the way. Breaking bolts, especially on older models, is common; however, preparation and the right tools can make this process smoother. Stay proactive, keep your workspace tidy, and enjoy the transformation of your Jeep as it is lifted for adventure!