
Grit Performance Tire Defator with Gauge and How To Use
May 24, 2017
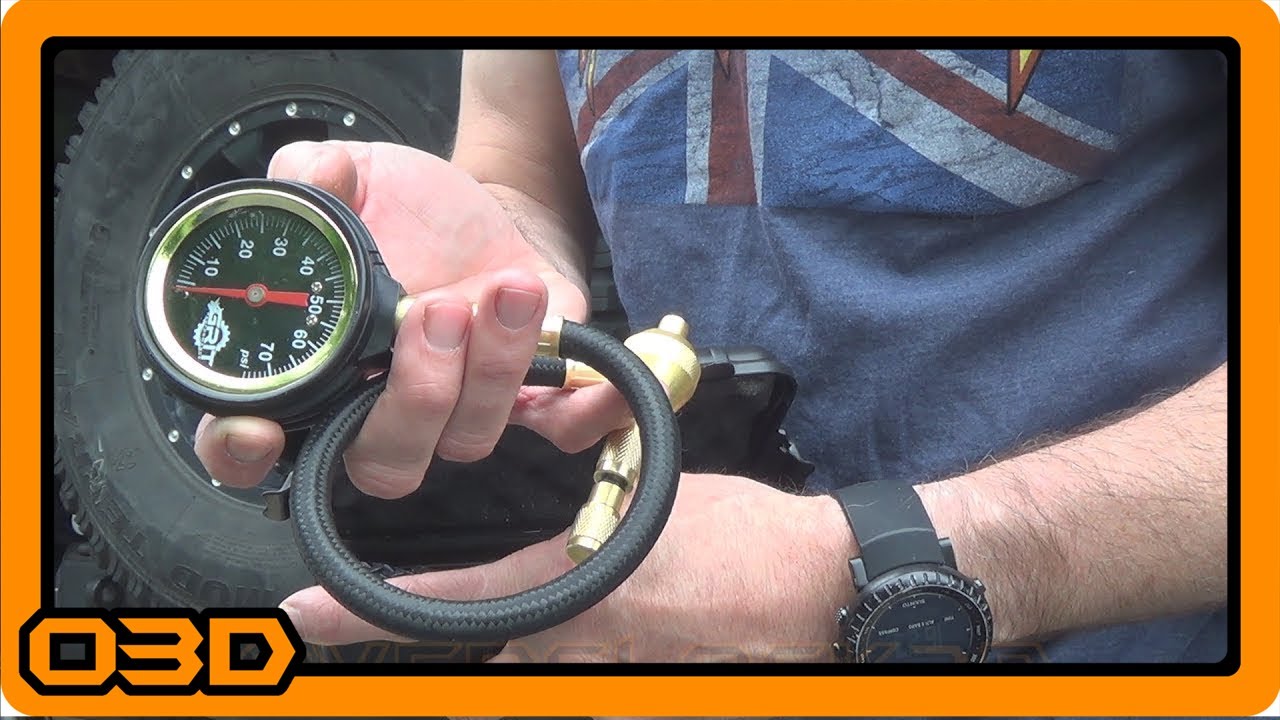
Comprehensive look at the Grit Performance tire deflator with gauge, including setup and real-world application tips.
Quick Look
Overview
Getting the right tire pressure is crucial in off-roading, as it can affect traction, comfort, and performance. Many off-road enthusiasts know that deflating tires enhances grip on rocky or uneven terrain, but the method often involves time-consuming processes. The Grit Performance Tire Deflator with Gauge is a handy tool designed to simplify this task, providing an innovative solution for quick and efficient tire deflation.
What This Covers
In this article, we’ll cover the setup and functionality of the tire deflator, how to use it properly, and the advantages it brings to your off-road adventures. We’ll also share personal experiences and practical tips to help you make the most out of this tool.
Step-by-Step Breakdown
- Unboxing the Deflator: The first step is checking out what’s inside the box. You’ll find the tire deflation tool itself, an integrated gauge, extra valve stem caps, a valve core tool, and a user guide. The guide is especially helpful for beginners, providing visual instructions on usage.
- Setting Up the Tool: Start by ensuring that your tire's valve stem is clean. Firmly attach the tire deflator to the valve stem by threading it on. Make sure it’s snug, as this will ensure a proper seal and accurate reading.
- Removing the Valve Core: To begin deflation, press down on the tool and rotate counter-clockwise until the valve core disengages completely. This allows air to escape quickly. Watch out for the subtle difference in air release as you back it off slightly; this can greatly affect the speed of deflation.
- Monitoring Pressure: The built-in gauge will indicate the current tire pressure. Keep an eye on this as you deflate to your desired psi. For instance, reducing pressure from 32 to 15 psi may initially take around 4.5 minutes, but with proper technique, this can be cut down significantly.
- Finishing Up: Once you’ve reached the desired psi, remember to securely replace the valve core by pressing it down and turning it clockwise. After that, detach the deflator carefully to avoid losing the valve core or letting out excess air.
Helpful Tips
- Practice Makes Perfect: Before you head out on the trails, it’s a good idea to practice using the deflator at home. Familiarizing yourself with its mechanics will make you more efficient in real-world scenarios.
- Check Compatibility: Ensure that the deflator is compatible with your tire valve stems. The adjustable threading should fit snugly on most standard valve stems, but verifying this can save you time when it counts.
- Carry Spare Components: The kit includes spare valve caps, but consider bringing additional valve cores and tools, especially on extended trips where you might encounter equipment failure.
- Real-time Monitoring: While the deflator features a gauge, for utmost precision during inflation and deflation, consider carrying a separate high-quality tire gauge as backup.
Key Takeaways
The Grit Performance Tire Deflator with Gauge is not just a tool, it’s a game-changer for off-road enthusiasts looking to enhance their traction by optimizing tire pressure quickly. The straightforward design, combined with additional components like spare caps and a core tool, ensures you have everything you need for tire maintenance on the go. With the right technique, you can efficiently modify your tire pressure, allowing for a more enjoyable and safer off-road experience.