
Hutchinson Rock Monster Beadlock Wheel and Tire Assembly - Detailed How To
October 17, 2017
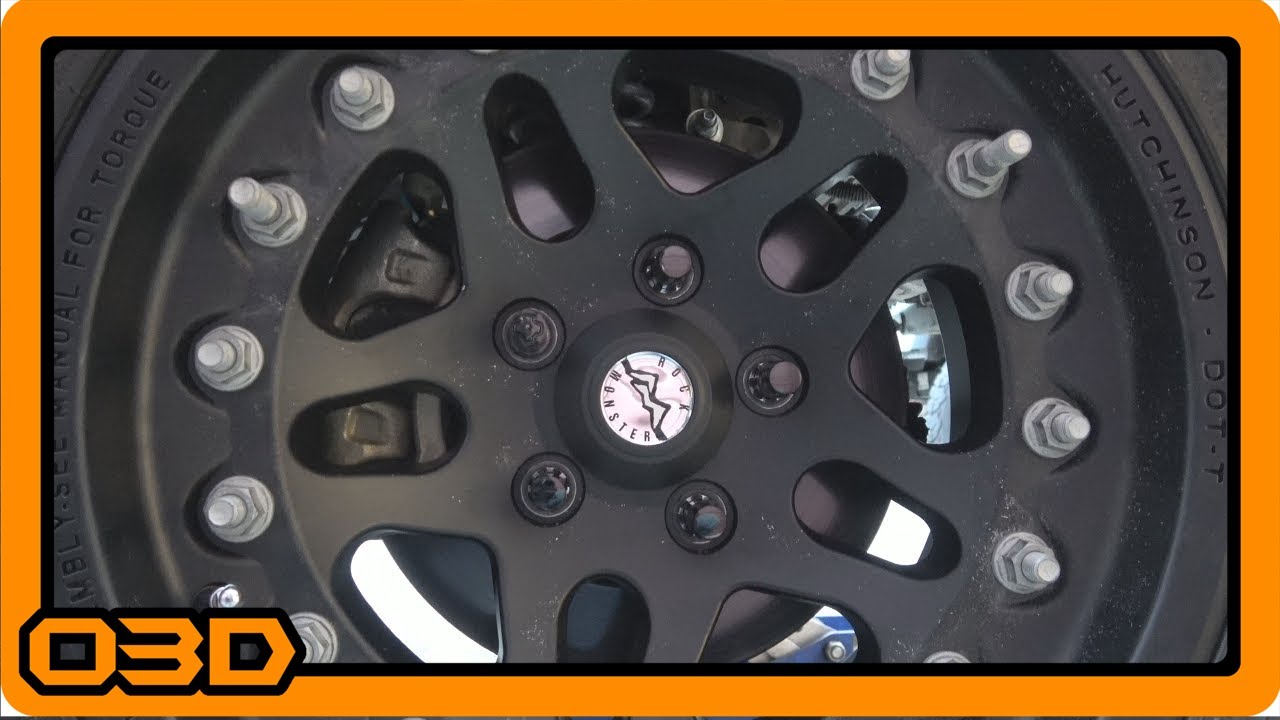
Detailed installation guide for Hutchinson Rock Monster Beadlock wheels and tire assembly.
Quick Look
Overview
When it comes to upgrading your Jeep's performance and handling off-road, choosing the right wheels and tires is crucial. The Hutchinson Rock Monster Beadlock wheel assembly provides an excellent solution for off-road enthusiasts looking to enhance traction and control. In this guide, we will walk through the installation process of these beadlock wheels, as well as how to integrate TPMS sensors for added convenience and monitoring.
What This Covers
This tutorial will cover the step-by-step process of assembling the Hutchinson Rock Monster Beadlock wheel and tire assembly. We will focus on:
- Preparing the tire and wheel assembly
- Installing the TPMS sensors
- Mounting the beadlock wheels
- Ensuring proper sealing and balancing
Step-by-Step Breakdown
Here's a detailed breakdown of the installation process:
- Prepare Your Materials: Before starting, gather all necessary tools and components including the Hutchinson Rock Monster Beadlock wheels, your tires, TPMS sensors, a hardware kit, tire lube, and appropriate tools for tightening bolts.
- Remove the Old Tires: Depending on your setup, you may need to break down your existing tires. In this case, we removed Mickey Thompson tires from the previous rims to make way for the Hutchinson wheels.
- Assemble the Inner Beadlock: Take the inner half of the rim and install the rubber o-ring. This is crucial as it creates a seal between the two halves of the wheel.
- Add TPMS Sensors: If you want to retain your TPMS sensors, mount them onto the beadlock assembly using the provided bracket and screws. Apply thread lock for added security.
- Mount the Tire: Place the tire upside down and insert the inner beadlock carefully. Align the valve stem with the yellow dot on the tire, which indicates the lightest spot—this is vital for balance.
- Secure the Assembly: Attach the outer rim half to the inner assembly. Use a staggered triangle pattern to tighten bolts, progressing to a torque of about 100 ft-lbs for a secure fit.
- Final Checks: After mounting the tire on your Jeep, double-check the torque after driving for about 50 miles to ensure everything remains secure.
Helpful Tips
Keep the following tips in mind to make your installation smoother:
- Cleanliness Matters: Ensure that all surfaces are clean and free of dirt, grit, or grime, as this can affect the sealing.
- Lubricate Wisely: Use tire lube or even soapy water on the bead area to help the tire seat properly.
- Future Serviceability: Consider using anti-seize on the bolts to ease future disassemblies and prevent the bolts from seizing over time.
Key Takeaways
Upgrading to Hutchinson Rock Monster Beadlock wheels can greatly enhance your Jeep's off-road performance. Proper installation is key to ensuring that the tires perform as expected when you hit the trails. By taking the time to carefully follow the steps and implement the tips provided, you will ensure a secure and serviceable installation that will withstand the rigors of off-roading.