
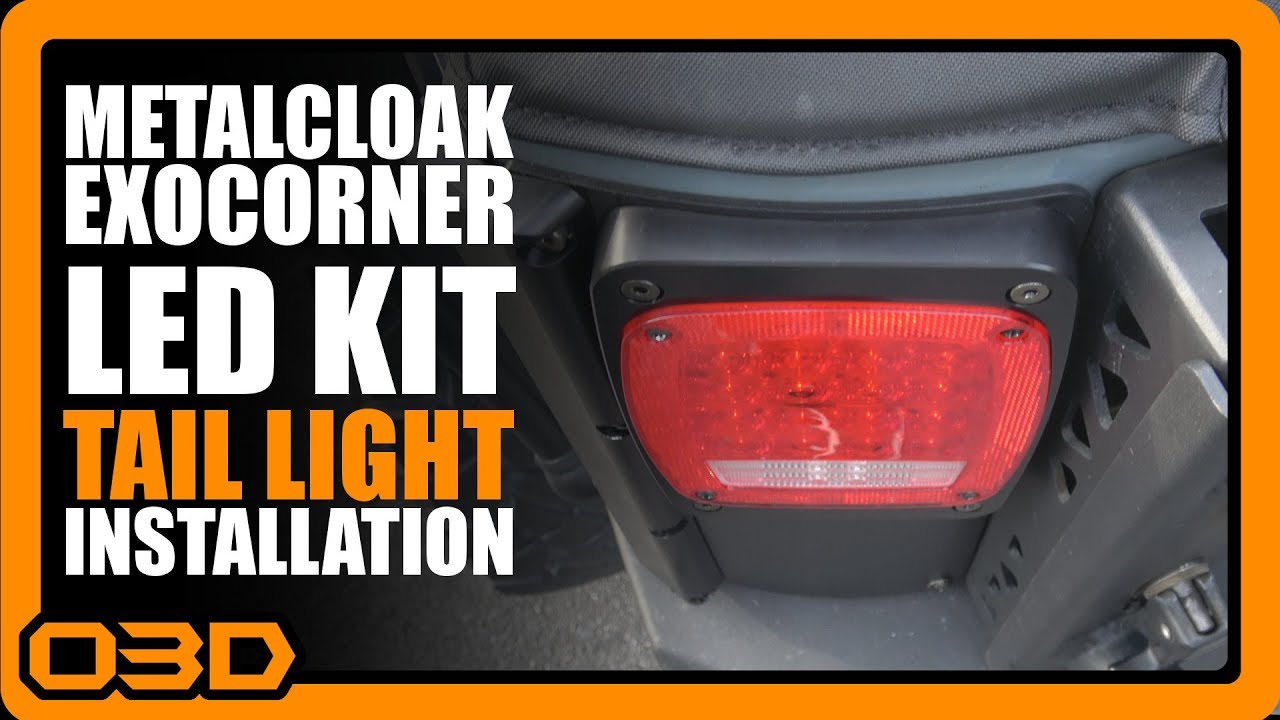
Part 5 - Metalcloak ExoCorner LED Tail Light Kit Install 2015 Jeep Wrangler JK
April 24, 2018
Explore how to install the Metalcloak ExoCorner LED Tail Light Kit on your Jeep Wrangler JK in this practical guide.
Quick Look
- 🔔 Please CLICK THE BELL if you want to see my videos! 🔔
- I'm installing Metalcloak Overline Tube Fenders on my 2015 Jeep JK Unlimited Wrangler. I am also installing the standard overline flares, Metalcloak inner fender liners, the rear overline fenders with exoskin, and the rear corner skins with LED tail lights.
- Easy to Install
- Ball Lock Joints secure each end of the Flare for incredible strength while providing the best Turning Clearance, best Object Deflection Angle and best Tire Clearance in the industry.
- Dovetailed for the best Object Deflection Angle, the Ball Lock Joints secure Flares for incredible strength and tub protection with just the right amount of clearance and coverage.
- Designed specifically as a mounting system for Quick Release rear flares, the flare mounting hardware is built right in.
Overview
The sleek lines and rugged utility of the Jeep Wrangler JK make it a favorite for off-road enthusiasts. However, upgrading your Jeep involves more than just performance modifications; aesthetic and functional enhancements can significantly elevate its usability and look. This article will guide you through installing the Metalcloak ExoCorner LED Tail Light Kit, a key component for anyone looking to amp up both style and visibility.
What This Covers
In this tutorial, we'll dive deep into the step-by-step process of installing the ExoCorner LED Tail Light Kit. This includes removing the factory lights, aligning the new armor seamlessly with existing components, and ensuring everything functions correctly. Whether you're preparing your Jeep for weekend trails or just enhancing its everyday look, following these instructions will lead to a hassle-free installation.
Step-by-Step Breakdown
- Preparation: Gather tools required for installation including screwdrivers, wrenches, and possibly a drill for aligning the new taillight kit.
- Remove Factory Lights: Start by unscrewing the existing taillights. If you're doing this alongside the Metalcloak Overline Fender installation, you'll already have the taillights removed.
- Align the Armor: Place the Metalcloak corner armor against the body to check fitment. Make adjustments as necessary; the design accommodates aftermarket parts like tire carriers without interference.
- Securing the Fit: Use the proper bolts included in the kit to secure the corner armor. Ensure that you snug them down but do not overtighten initially. This allows for small adjustments as you continue.
- Drill Holes as Needed: If replacing the stock lights, some models may require drilling through metal surfaces for proper nut placement. Follow the instructions closely to determine where to make these alterations.
- Install the LED Lights: With the armor in place, connect your new LED lights. Wiring should be plug-and-play, but familiarize yourself with the specific color coding for a secure connection.
- Test the Installation: Finally, check all connections and ensure the lights function correctly. Test the blinkers to check for hyperflash—this indicates that the system detects a fault, often caused by the lower resistance of LED lights compared to the stock bulbs.
Helpful Tips
- If you experience hyperflash, don't panic. This common issue can be resolved by installing a resistor to mimic the load of a conventional bulb, allowing the computer to recognize the connection and function normally.
- Be aware of fitment issues, particularly if you have an aftermarket tire carrier. Proper clearance is crucial for functionality.
- Take your time aligning everything; rushing through can lead to misfitting parts. Check all angles and clearances before finalizing your installation.
- Consider using liquid electrical tape or heat shrink tubing to shield any exposed wires, ensuring durability in rugged conditions.
Key Takeaways
The Metalcloak ExoCorner LED Tail Light Kit not only enhances visibility on and off-road but adds to the rugged aesthetic of your JK. Proper installation ensures you maintain the utility without compromising on functionality. By following this guide, you can confidently upgrade your Jeep's tail lights and corner protection, ensuring you're both seen and safe on the trails.