
Part One - Rock Hard 4X4 Sport Cage Install 2015 Jeep Wranger JKU
June 5, 2017
Explore the exciting journey of installing a Rock Hard 4X4 Sport Cage in a 2015 Jeep Wrangler JKU. Tips and insights included!
Quick Look
Overview
In this article, we're diving into the exciting process of installing a Rock Hard 4X4 Sport Cage into a 2015 Jeep Wrangler JKU. Whether you're a seasoned off-road enthusiast or a first-time builder, adding a roll cage to your Jeep is not just about aesthetics; it’s about increasing safety, enhancing the structural integrity, and giving your rig a tougher look. This install isn’t just straightforward, but it also comes with its fair share of challenges, making it a great hands-on tutorial for those looking to boost their Jeep's capabilities.
What This Covers
This tutorial will provide an in-depth look at:
- Initial setup and preparation
- Tools and materials you'll need
- Step-by-step installation process
- Tips for overcoming common challenges
- Final adjustments and finishing touches
Step-by-Step Breakdown
1. Preparation is Key:
Before diving into the installation, ensure you have all necessary tools and protective gear. You’ll need a degreaser to clean the cage before fitting, and it’s a good idea to have some tape on hand to protect your dash and interior during the install.
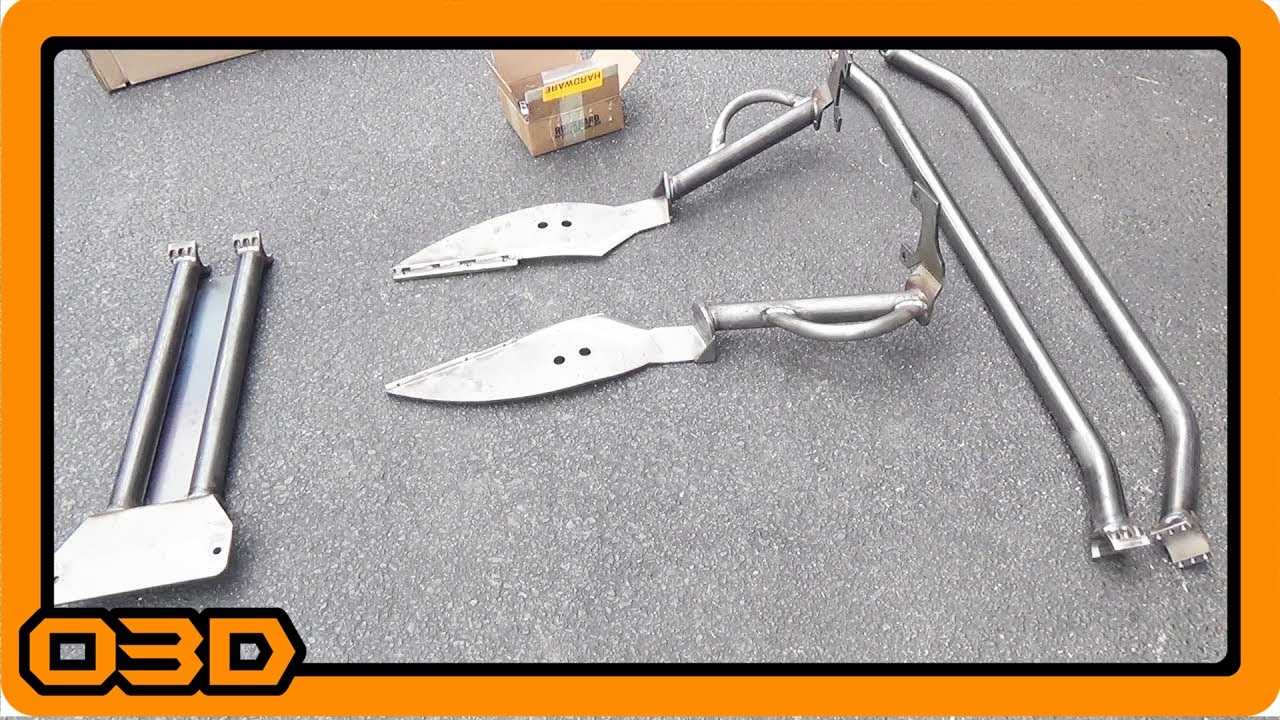
2. Test Fitting the Cage:
Unbox the Rock Hard 4X4 Sport Cage and start by conducting a test fit. This step is crucial as it helps you familiarize yourself with how the components fit together and identify any areas needing adjustment. Clean the cage thoroughly to avoid transferring grease onto your Jeep's interior.
3. Disassembling Your Jeep's Interior:
To make way for the installation, you’ll need to remove various interior panels, starting with the A-pillar cover. Expect some challenges, such as stubborn plastic plugs that may require a bit of force to remove. Take your time with this step to avoid damaging any components.
4. Adjusting for a Snug Fit:
During the test fit, you may find that some trimming is necessary for a proper fit. Be prepared to cut and relieve certain areas where wires run through, ensuring they remain protected while avoiding interference with the cage.
5. Bolting Down the Cage:
Once you’ve made the necessary adjustments, start bolting the cage down. This process can be labor-intensive, as you may need to adjust angles and utilize some creativity to align everything perfectly. Remember, if this is your first install, patience is paramount, so allow yourself plenty of time to get it right.
Helpful Tips
- **Cleanliness Matters:** Always keep the workspace clean to avoid messes and scratches during assembly. Using WD40 on exposed metal can help prevent rust while you decide on finishing options like paint or powder coat.
- **Documentation:** If you're unsure about any step, refer to a manual or online tutorial. Documenting your own process with notes can help if you run into issues later on.
- **Have Spare Parts Ready:** Some threads might be worn or not properly fitted. It’s wise to have spare taps on hand to clean out threads or to replace any damaged components.
Key Takeaways
Installing a Rock Hard 4X4 Sport Cage is a fulfilling project that enhances the safety and style of your Jeep Wrangler. While it poses challenges, such as navigating tight spaces and dealing with finicky fasteners, proper preparation and a methodical approach can lead to a successful installation. Remember to take your time, follow your instincts, and enjoy the process. Your Jeep will not only look more aggressive but will also be safer for your off-road adventures.