
PART TWO Poison Spyder Body Mount Tire Carrier Installation Latch side, Hinge Side, Bushings
June 25, 2017
Learn the ins and outs of installing the Poison Spyder Body Mount Tire Carrier in this comprehensive guide.
Quick Look
Overview
If you're looking to enhance your Jeep's capability with a body mount tire carrier, you're in the right place! In this tutorial, we'll break down the steps involved in installing the Poison Spyder Body Mount Tire Carrier. This is part two of the installation series, focusing on the latch and hinge sides as well as the crucial bushing installation.
What This Covers
This guide will cover:
- Removing the factory tail light
- Preparing and drilling the mounting holes
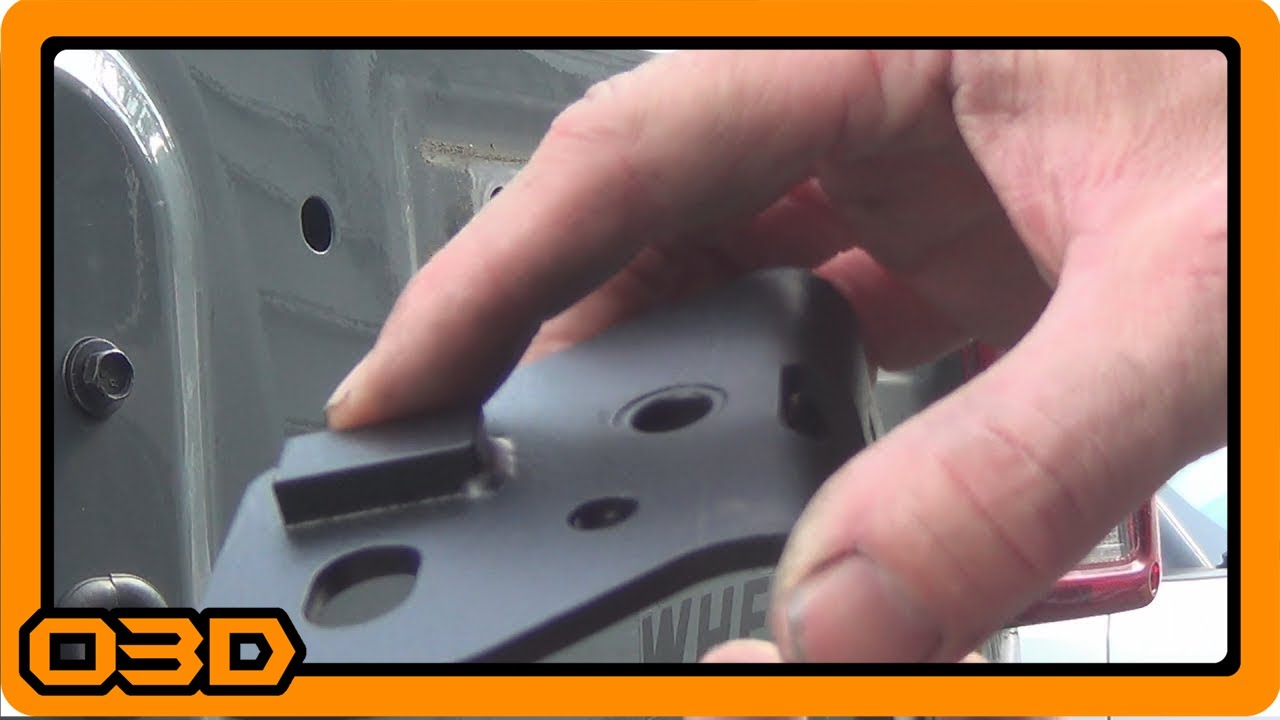
- Aligning and installing the tire carrier brackets
- Using spacers for a secure fit
- Proper installation of the hinge and latch components
- Helpful tips for a smoother installation process
Step-by-Step Breakdown
Let’s dive into the installation process with a bit more detail:
- Remove the Tail Light: Start by detaching the screws that hold your factory tail light in place. This allows you to work freely in the area without damaging any wiring.
- Drilling Preparation: Using the provided template, carefully line it up on your Jeep’s body for drilling. Make sure to double-check the alignment, especially where the template meets the rolled part of the tailgate opening.
- Drilling the Holes: Begin by using a smaller drill bit (1/8 inch) to mark the spots, followed by increasing to a step bit and then using a 3/8 inch bit to create holes. Once you’ve drilled through the outer layer of metal, switch to a 5/8 inch bit for the holes that will accommodate spacers.
- Install the Spacers: The installation hardware includes spacers designed to prevent the two layers of metal from compressing when the tires are mounted. This step is crucial for longevity and stability.
- Align and Secure Brackets: Using alignment cones and Nylock nuts, secure the brackets in place. Use a deep socket or socket with an extension to tighten these securely.
- Hinge Side Assembly: Remove one hinge at a time, then grind down the specified side. Install the new hinge bracket, securing it with thread locker as per the instructions.
- Bushing Installation: Ensure the bushings are clean and free from any debris. Use a C-clamp to assist in pushing them into position if they seem tight.
Helpful Tips
Here are a few tips to ensure a smoother installation:
- Plan Ahead: Make sure you have all necessary tools before starting. Missing hardware can lead to delays.
- Take Your Time: Rushing through alignment and drilling can result in errors. Take the time to ensure everything is straight and accurate.
- Document Changes: If you're making any modifications or upgrades based on lesson learned, take notes for future reference.
Key Takeaways
Installing the Poison Spyder Body Mount Tire Carrier can elevate your Jeep's off-road capability significantly. By following the steps outlined, and paying careful attention to the details—especially around drilling and aligning—the installation can be a rewarding project. Remember, patience and preparation are key in any build process. Good luck, and happy wheeling!