
Project 2004 Jeep TJ Control Arm Track Bar Brakes and Wipers
May 13, 2017
Explore the journey of fixing a 2004 Jeep TJ with control arm, track bar, brakes, and wiper upgrades for inspection readiness.
Quick Look
Overview
In this article, we delve into the repair journey of a 2004 Jeep TJ, focusing on several essential upgrades and fixes needed to pass inspection. Following the YouTube video, we will explore the procedures for replacing the control arm, track bar, brake components, and wipers, while also imparting some valuable tips for fellow enthusiasts.
What This Covers
This guide covers:
- Replacement of the rear lower control arm
- Upgrading the front track bar
- Changing the front brake pads and rotors
- Installing new windshield wipers
Step-by-Step Breakdown
Each of the tasks performed can be daunting for many, but with the right approach, it can be incredibly rewarding, especially when shared with another person. Here’s a breakdown of each step taken during the repairs.
1. Control Arm Replacement
The video starts with the removal and replacement of the rear lower control arm. This was achieved with a used takeoff provided by a friend, showcasing the camaraderie in the Jeep community. Removing the old arm revealed significant wear, as seen in the wallowed-out hole. Precision was key here; we ensured that the new control arm was torqued down correctly to 130 ft-lbs, an essential step for safety and performance.
2. Front Track Bar Installation
Next up was the front track bar replacement. This task presented its challenges, particularly with a broken cotter pin and a stubborn castle nut. A breaker bar was necessary to gain enough leverage, and improvisation was key when a bolt had to be removed. The new track bar not only fit well but significantly improved stability over the old, worn-out component.
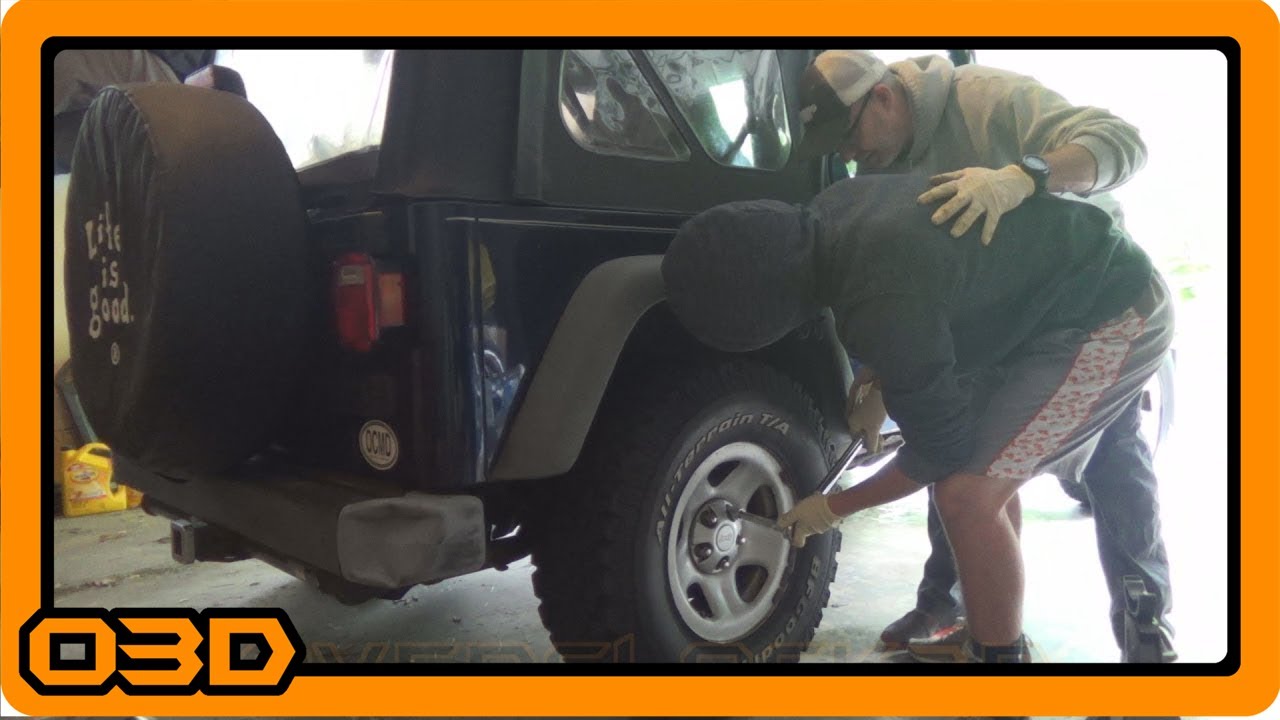
3. Brake System Overhaul
The front brake system received a thorough upgrade, involving the replacement of both pads and rotors. Initially, the rotors were rust-welded, requiring some extra persuasion to remove. Attention to detail here is critical; cleaning the contact surfaces and ensuring the caliper slides were greased prevented premature wear and maintained performance. Installing new pads was straightforward, using a C-clamp for compressing the calipers made a significant difference in efficiency.
4. Wiper Replacement
Lastly, the windshield wipers were replaced to ensure safe driving in inclement weather. A small but crucial part of preparation for inspection, these were simply swapped out, but not without ensuring to remove the manufacturer’s protective cover from the new blades.
Helpful Tips
Here are some helpful takeaways from this repair process:
- Stay organized: Keep your workspace neat, with tools and parts sorted to prevent losing anything essential.
- Know when to get help: The Jeep community is excellent for sourcing used parts and for advice—don’t hesitate to reach out.
- Document your process: Taking video or pictures can help replicate processes in future repairs while also serving as a reference for other enthusiasts.
- Safety first: Always prioritize safety by using the correct torque specifications and tools to prevent injuries or further damage.
Key Takeaways
Completing these repairs not only ensures that the Jeep is ready for inspection but strengthens the owner's bond with the vehicle. It shows the importance of community in the Jeep culture, whereby help and resources are shared amongst friends. Repairing your Jeep can be a fulfilling endeavor, enhancing both the vehicle's performance and your skills as a mechanic.