
Rear Axle Upgrades and Diff School - Part Five - Final Assembly and ARB Air Line
July 21, 2017
Explore the final assembly of rear axle upgrades in our Diff School series, highlighting critical techniques and insights.
Quick Look
Overview
Welcome back, Jeep enthusiasts! In the final episode of our Diff School series, we’ll dive into the meticulous process of assembling rear axle upgrades for your Jeep, centering around the Dynatrac Trail Leader Axle Package. This tutorial aims to provide valuable insights and practical techniques that make a significant difference in the assembly and performance of your drivetrain.
What This Covers
This article will walk you through the key steps involved in the final assembly of your rear axle, including essential tasks like installing the ARB air locker and ensuring proper backlash. We’ll also share some handy tips and tricks that can make your installation smoother and more efficient.
Step-by-Step Breakdown
- Preparation: Before starting the assembly, ensure you have all your components ready. The Dynatrac Trail Leader Axle Package includes high-quality parts designed to withstand off-road challenges.
- Creating Drainage Slots: One of the first tasks involves cutting drainage slots that ensure proper oil flow in the axle housing. This step is crucial to maintain lubrication and prevent overheating. Follow ARB instructions closely, which specify tolerances and cutting techniques to perform this modification safely.
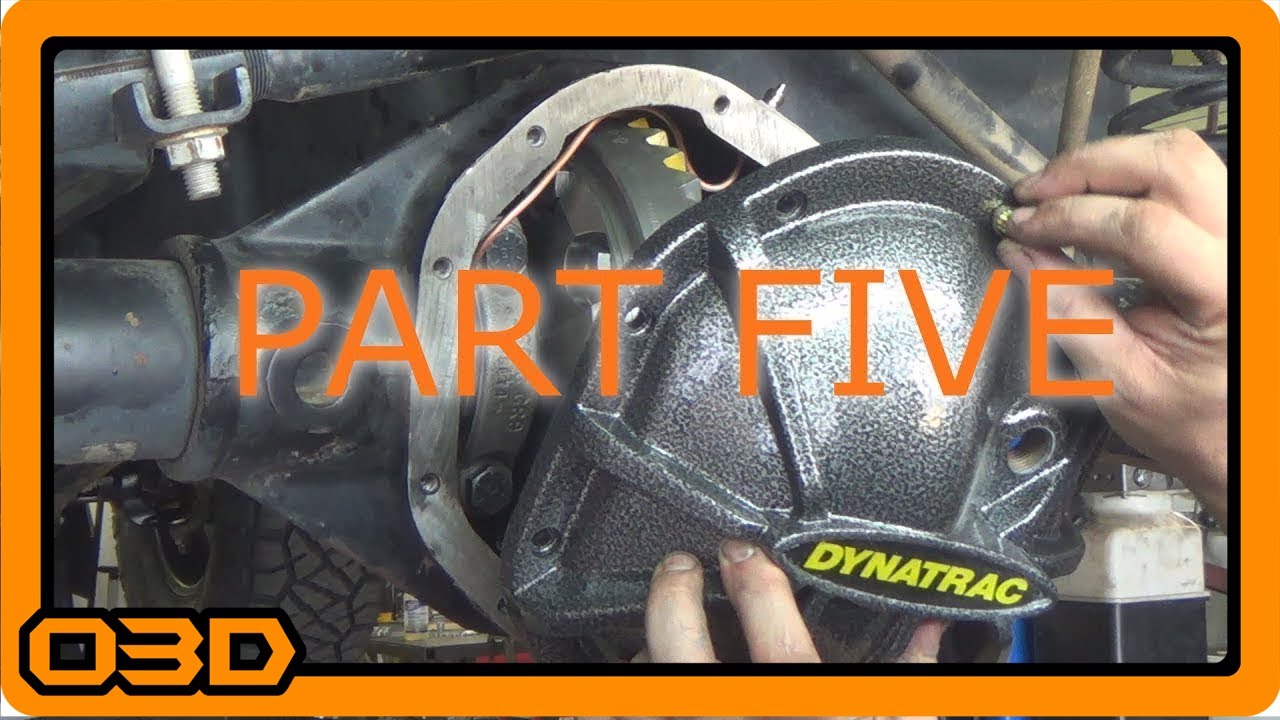
- Installing the Air Locker: Position the ARB air locker correctly. While it may require some force, ensure it fits snugly without jamming. Using a brass punch can help here, minimizing damage.
- Checking Backlash: Once the locker is in place, it’s time to check the backlash. Aim for specifications around 6 to 10 thousandths of an inch to ensure proper gear engagement without excessive wear.
- Final Assembly: With backlash checked and adjustments made, complete the assembly by securing the diff cover. Ensure all seals and O-rings are properly installed to prevent leaks.
Helpful Tips
Throughout this assembly process, attention to detail is paramount. Here are some tips to keep in mind:
- Always double-check your measurements when cutting and fitting components—accuracy avoids costly mistakes.
- Maintain a clean working environment to prevent debris from entering the axle.
- Use the right tools for the job, especially when working with delicate components like the ARB air compressor and O-rings.
- Document your process! Consider taking photos or notes for reference if you need to revisit or troubleshoot any part of the assembly.
Key Takeaways
The final assembly of your rear axle is a crucial step in ensuring your Jeep can handle off-road conditions without hiccups. By following the instructions closely and applying some of the techniques we discussed, you set yourself up for a reliable build that can conquer the trails. Stay tuned for our next adventures as we wrap up this build with axle shaft installation!