
Smittybilt XRC JK Fender Flares - Part One
November 7, 2015
Learn to install Smittybilt XRC Fender Flares on your Jeep JK with this detailed guide. Step-by-step installation process with practical tips.
Quick Look
Overview
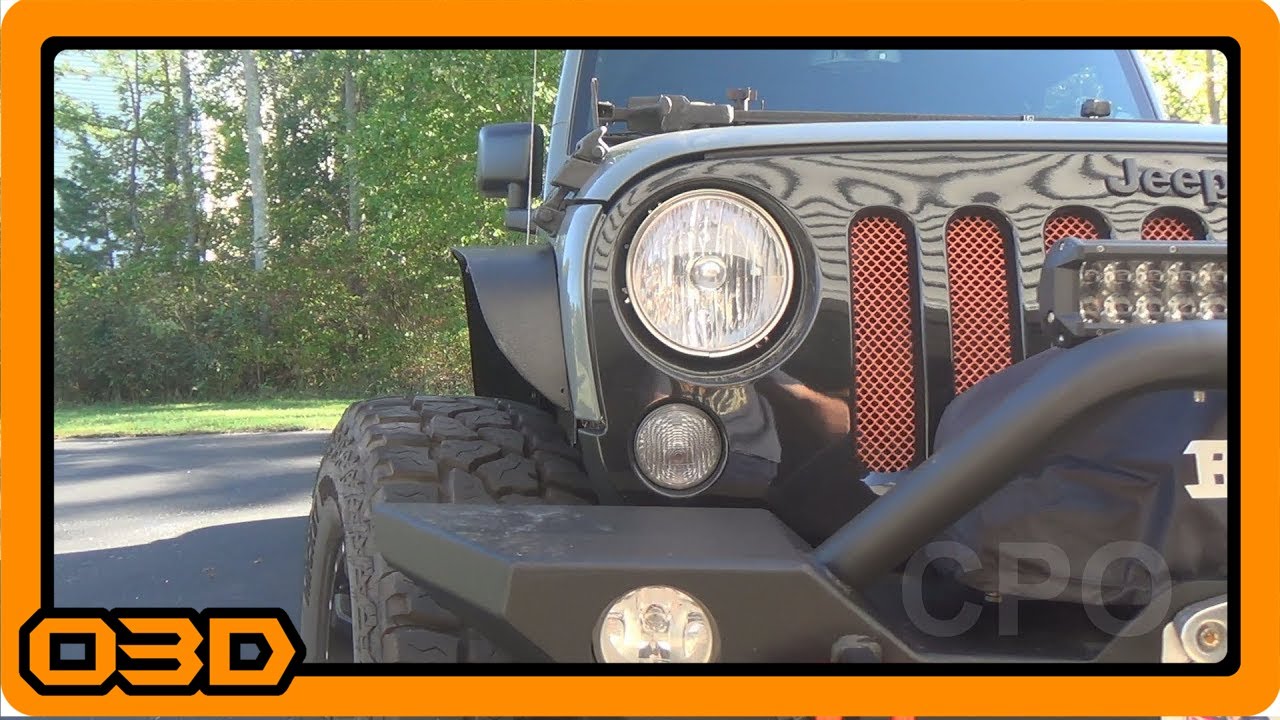
In this tutorial, we dive into the detailed process of installing Smittybilt XRC Fender Flares on a JK Jeep Wrangler. This modification enhances both the aesthetics and functionality of your vehicle, offering increased clearance for larger tires and improved off-road performance.
What This Covers
This article focuses on part one of the installation, which includes the removal of the factory front fender flares and the installation of the Smittybilt units. Subsequent parts will address the rear flares and repurposing the factory fender liners.
Step-by-Step Breakdown
- Removal of Factory Fender Flares: Start by identifying all the bolt locations on the front fender. The JK model features six bolts—pay attention to not only the visible ones, but also those hidden inside the fender and plastic clips that may not be immediately obvious.
- Disconnect Wiring: If your fender has a marker light, carefully disconnect the wiring harness to avoid damage during the removal process. You have the option of cutting it or gently pulling it out.
- Breaking the Clips: As you begin to remove the fender, you will encounter several plastic clips that will likely break in the process. This is expected, so don't worry if some clips don't survive the removal.
- Prepare for Installation: Once the factory fender is removed, it's essential to clean the area and assess if the fender liner needs modification based on your new flares.
- Installing Smittybilt Flares: Position the Smittybilt flare against the fender, ensuring that it aligns with the existing holes. Start by loosely attaching the screws—work from the easiest to hardest points to reach—before tightening everything down securely.
- Add Wiring Back: Depending on your preference, you may want to install the marker light back in its place within the new fender flare. This requires some creativity with the original clips and harness.
Helpful Tips
- Keep all clips and bolts organized. As you remove parts, consider using a magnetic tray to avoid losing any hardware.
- Use a ratchet with extensions to reach the more difficult bolts, as space can be cramped.
- Don’t skip cleaning the fender area where the new flares will mount; dirt and debris can interfere with a good fit.
Key Takeaways
The installation of Smittybilt XRC Fender Flares is a project that can greatly enhance your Jeep’s clearance and style. The process can seem daunting, but with careful step-by-step attention, you can achieve a solid and professional look without the need for extensive tools or modifications. Stay tuned for part two, where we tackle the rear fender flares and finalize the look of your Jeep.