
Stock Rear Bumper, Tire Carrier, and Tow Receiver Removal - Project 2004 TJ Wrangler
August 23, 2017
Join CJ as he removes the stock rear bumper and tire carrier from a 2004 TJ Wrangler, prepping for a new Smittybilt upgrade!
Quick Look
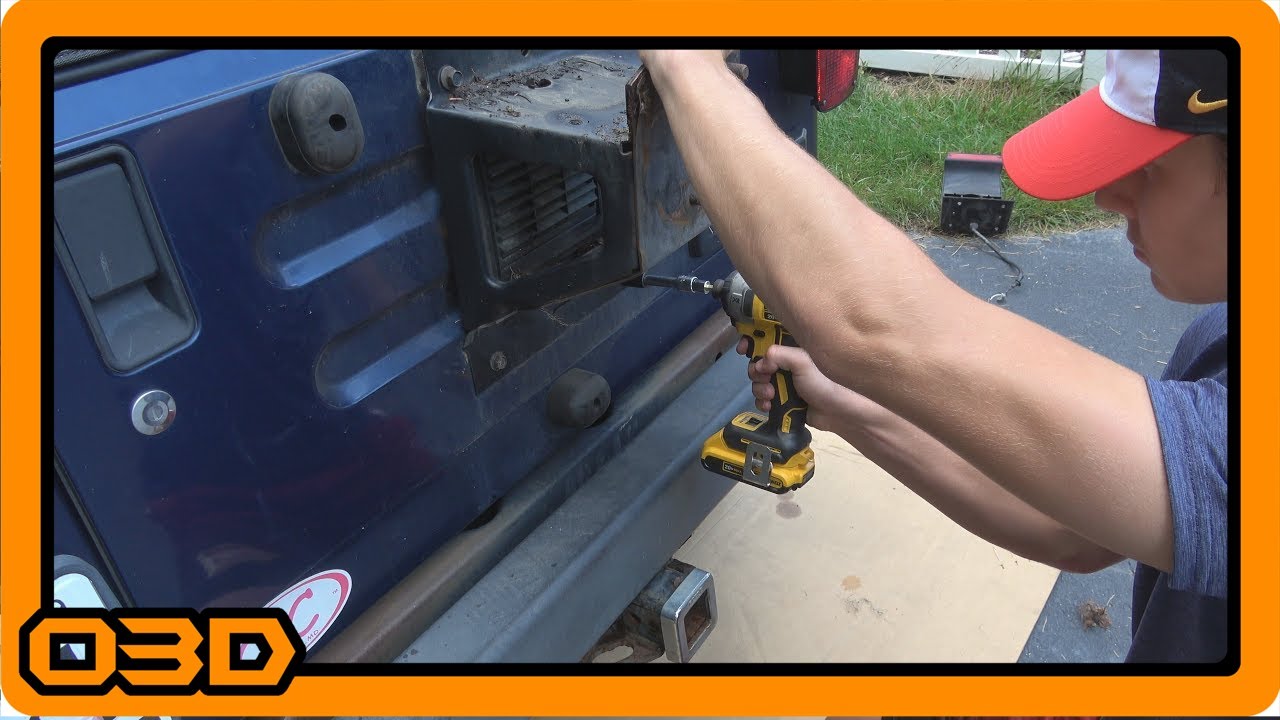
- In this video CJ removes his stock rear bumper and tire carrier, as well as the Reese tow receiver that was installed. The flag broke on one of the nuts for the tow receiver, so I just grabbed an angle grinder and cut off the bolt... problem solved! We also had to preserve some wildlife during this video. Really. Seriously. Watch.
- In this video CJ removes his stock rear bumper and tire carrier, as well as the Reese tow receiver that was installed. The flag broke on one of the nuts for the tow receiver, so I just grabbed an angle grinder and cut off the bolt... problem solved! We also had to preserve some wildlife during this video. Really. Seriously. Watch.
- Some helpful O3D Jeeps links for you:
- Some helpful O3D Jeeps links for you:
- Some helpful O3D Jeeps links for you:
Overview
In this intriguing episode, CJ takes on the task of removing the stock rear bumper and tire carrier from a 2004 TJ Wrangler. This video not only dives into the practical steps involved in this process but also sets the stage for an exciting upgrade with a new Smittybilt rear bumper. If you’re looking to modify your Jeep for enhanced performance and aesthetics, follow along for a detailed walkthrough.
What This Covers
The video covers essential steps for safely and effectively removing the rear bumper, tire carrier, and tow receiver from your Jeep TJ. Whether you’re replacing parts for a more aggressive off-road look or for functionality, having a clean and systematic removal process is crucial. The episode also features an unexpected adventure with a bit of wildlife preservation, reminding us that nature can surprise us in the most ordinary activities!
Step-by-Step Breakdown
- Preparation: Before diving into the removal, make sure you have all the necessary tools at hand—this includes basic hand tools like wrenches, socket sets, and an angle grinder in case things go sideways.
- Removing the Tire: Start by taking off the tire to access the tire carrier. CJ demonstrates removing the lug nuts and safely managing the tire. During this, a delightful surprise of bird eggs provides a light-hearted moment, highlighting the importance of caution and respect for nature.
- Disconnecting Wiring: The next step involves disconnecting the wiring for the third brake light. Attention to detail here will make reinstallation smoother. Make sure to document what you disconnect to ensure correct reconnections later.
- Disassembling the Bumper: With the tire and wiring out of the way, CJ tackles the bumper itself. He highlights the importance of removing plastic trim and carefully accessing mounting nuts. This meticulous approach can save headaches later, especially when working with older vehicles.
- Removing the Tow Receiver: Lastly, CJ demonstrates how to safely remove the Reese tow receiver, including dealing with a tricky nut situation. His use of an angle grinder for stubborn bolts shows that sometimes adaptation is necessary in DIY projects.
Helpful Tips
- Always work in a well-lit space and consider using a magnetic tray to keep small bolts and nuts organized during disassembly.
- Consider filming your progress or taking pictures for reference when reassembling your Jeep.
- Don’t rush the process; taking your time can prevent mistakes and damage to the body or wiring.
- Be mindful of wildlife and other surprises that may inhabit your Jeep, especially in outdoor environments.
Key Takeaways
Removing the stock rear bumper and tire carrier from your Jeep TJ can open up a world of upgrade possibilities. CJ's careful, methodical approach to disassembly provides a fantastic template for anyone looking to do the same. Not only does this prepare your Jeep for new enhancements like the Smittybilt rear bumper, but it also reinforces the spirit of adventure that comes with off-roading. Stay tuned for the next steps in CJ’s journey and remember—every modification is a step closer to making your Jeep your own!