
Tom Woods Driveshafts - Install, Benefits, and Maintenance - Jeep Wrangler JKU 1310/1350
August 11, 2017
Explore the benefits and installation of Tom Woods Driveshafts for Jeep Wrangler JKU, featuring key insights on maintenance and performance.
Quick Look
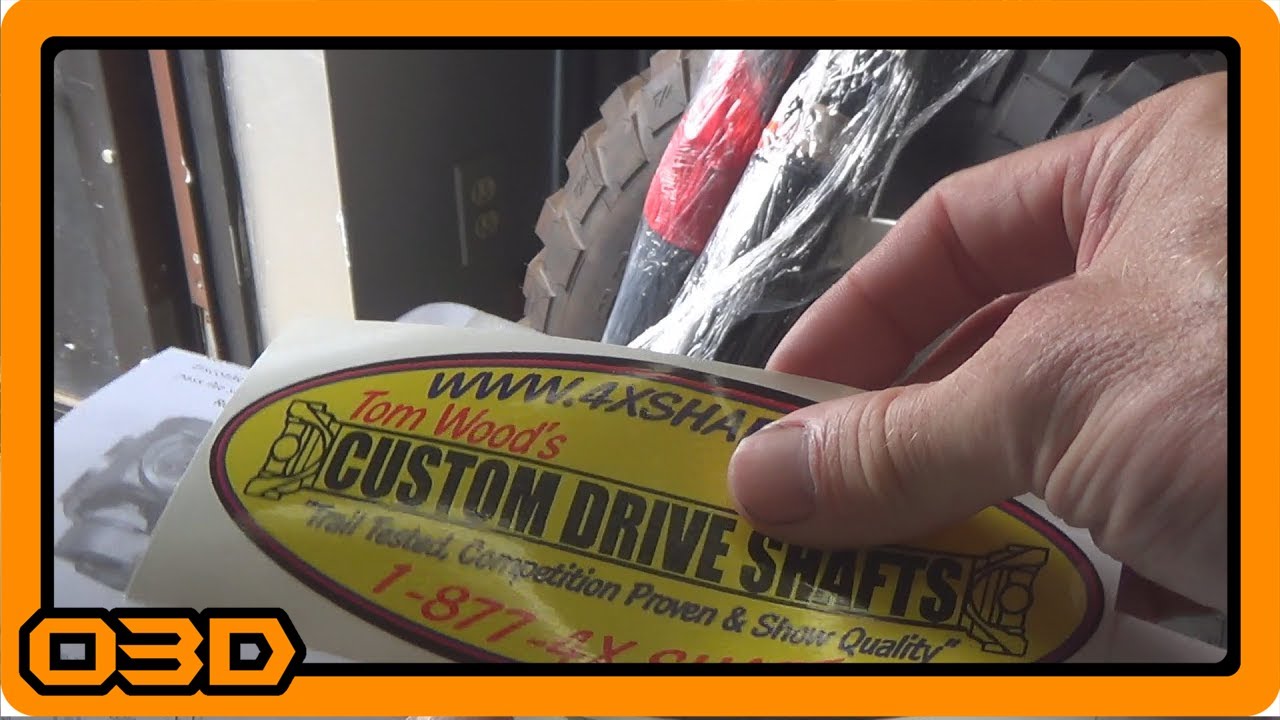
- In this video, Paul over at World Tour Off Road helps me install my new Tom Woods Driveshafts. In this video, I'll show you the driveshafts in detail, and Paul provides some pro installation tips and a comparison of the factory rzeppa driveshaft to the double cardan or cv joint of the Tom Woods shafts.
- In this video, Paul over at World Tour Off Road helps me install my new Tom Woods Driveshafts. In this video, I'll show you the driveshafts in detail, and Paul provides some pro installation tips and a comparison of the factory rzeppa driveshaft to the double cardan or cv joint of the Tom Woods shafts.
- Some helpful O3D Jeeps links for you:
- Some helpful O3D Jeeps links for you:
- Some helpful O3D Jeeps links for you:
Overview
In the off-roading community, ensuring your Jeep's drivetrain is capable of handling adventurous terrains is not just a luxury—it's a necessity. Today, we're diving into the installation and advantages of Tom Woods Driveshafts, particularly for the Jeep Wrangler JKU. This tutorial, inspired by my YouTube experience with Paul from World Tour Off Road, will provide you practical insights into the benefits of upgrading your driveshaft as well as handy installation tips.
What This Covers
This article explores the entire process from selecting the right driveshaft to the installation itself. We will look at:
- Understanding driveshaft types and specifications.
- Installation tips for getting the job done smoothly.
- Maintenance advice to extend the lifespan of your new driveshaft.
Step-by-Step Breakdown
The installation begins with receiving your Tom Woods Driveshafts. Each one is custom-made based on the measurements you provide, ensuring a perfect fit. Here's how you can approach the installation:
- Gather Your Tools: Ensure you have all necessary tools, including a wrench set, grease gun, and a pry bar.
- Remove the Old Driveshaft: Start by loosening the nuts that hold the old driveshaft to the yoke at both the differential and the transfer case ends. It may require an impact gun for stubborn nuts.
- Inspect and Clean: Before installing the new driveshaft, clean the mating surfaces on the transfer case and differential to remove any old RTV sealant and debris.
- Install the New Driveshaft: Position the Tom Woods Driveshaft and attach it to the yoke with the provided hardware. Pay attention to the orientation—incorrect alignment can lead to imbalance and spinning issues.
- Lubricate U-Joints: Before final installation, ensure you grease the u-joints using the grease fittings to help them operate smoothly.
- Final Checks: Make sure everything is secured. Spin the driveshaft manually to check for any binding or unusual noises.
Helpful Tips
As you look towards installing your driveshaft, consider the following:
- Take Accurate Measurements: The fit of your driveshaft hinges on the accuracy of your measurement. Use the formula discussed in the video—20,168 divided by tire diameter, multiplied by differential gear ratio—to ensure you select the appropriate series (1310 or 1350).
- Prevent Oil Leaks: Pay attention to seals, especially when replacing flanges. Using a little grease on the double lip seal during installation will help maintain a good seal and keep oil from leaking.
- Regular Maintenance: Check the driveshaft joints regularly for wear. Cleaning the boots and ensuring debris does not accumulate can extend the life and performance of both the driveshaft and joints.
Key Takeaways
Upgrading to Tom Woods Driveshafts will not only enhance your Jeep Wrangler’s performance but also its durability over time. A well-maintained driveshaft can withstand the rigors of off-roading, reducing the risk of failure when tackling challenging terrains. By following this guide and considering the provided tips, you can confidently install and maintain your driveshaft for many off-road adventures to come. Happy wheeling!