
Wheel Witness HD Pro Dash Camera Install - Project 2004 Jeep TJ Wrangler
June 26, 2018
Learn how to install the Wheel Witness HD Pro Dash Camera in a 2004 Jeep TJ Wrangler, enhancing safety and security on the road.
Quick Look
Overview
Installing a dash camera in your vehicle is an essential upgrade for both safety and security. In this tutorial, we'll walk through the installation process of the Wheel Witness HD Pro Dash Camera in a 2004 Jeep TJ Wrangler. This model provides high-definition video quality, making it an ideal choice for capturing important moments on the road. With features like GPS tracking and night vision, you'll have peace of mind knowing that you're protected while driving.
What This Covers
This article will cover the installation steps for the Wheel Witness HD Pro Dash Camera, including:
- Choosing the optimal mounting location
- Wiring the camera for power
- Configuring the camera settings
Step-by-Step Breakdown
Let's dive into the installation process:
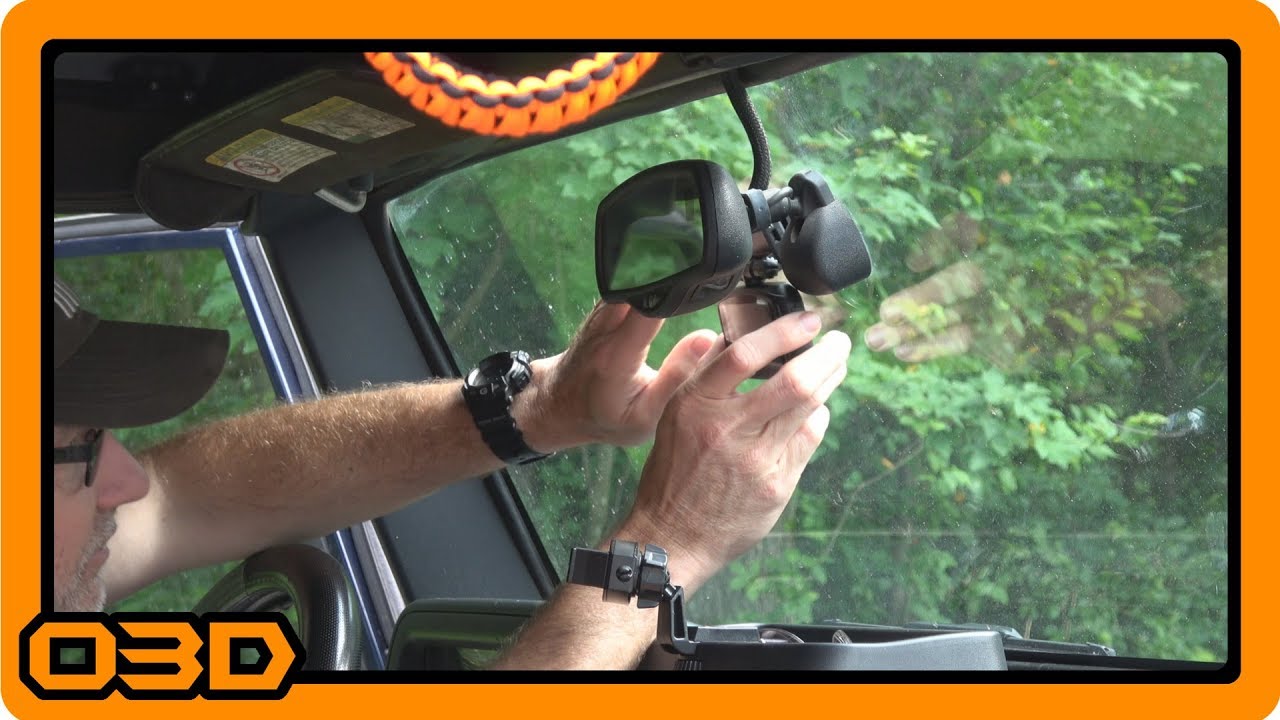
- Choose the Mounting Location: The first step is to find the best spot for the dash cam. Aim to position it just off-center of the rearview mirror to minimize obstruction of the driver’s view. Getting this part right is crucial to ensure an unobtrusive setup.
- Setup the Power Connection: Your Jeep will likely have a few power outlets to choose from. For this install, checking which outlets are ignition-powered is vital. Use a phone charger to test the outlets: one will be hot all the time, while the other should be powered only when the ignition is on. Connect the dash cam to the ignition-powered outlet to ensure it records only when the vehicle is running.
- Run the Wiring: For a clean look, route the power cable behind the headliner and along the edge of the windshield. This not only keeps the wiring hidden but also minimizes any distractions while driving.
- Install the Camera: Use the double-stick mount provided or the suction cup option depending on your preference. Ensure the camera is securely attached and that the lens is clean to avoid any obstructions.
- Configure the Camera: After your camera is mounted and powered, it’s time for setup. Follow the manual for programming features, such as changing recording time intervals and checking GPS functionality. Make sure the memory card is correctly inserted to allow for automatic recording.
Helpful Tips
Here are some additional tips to help you get the most out of your dash cam installation:
- Check local laws regarding dash cam usage, especially if they capture public roads or faces of pedestrians.
- Regularly review your footage to ensure everything is functioning well and that you're capturing quality video.
- Backup important footage periodically to avoid losing valuable video evidence in case of an incident.
Key Takeaways
Installing the Wheel Witness HD Pro Dash Camera in your Jeep TJ is a straightforward process that enhances your vehicle's functionality. With its high-resolution capture and added security features, this dash cam will provide peace of mind for you and your family. Take the time to install it correctly, and enjoy the added layer of protection it offers on every road trip.